CNC Machining vs. 3D Printing: When to Use Each for Prototypes
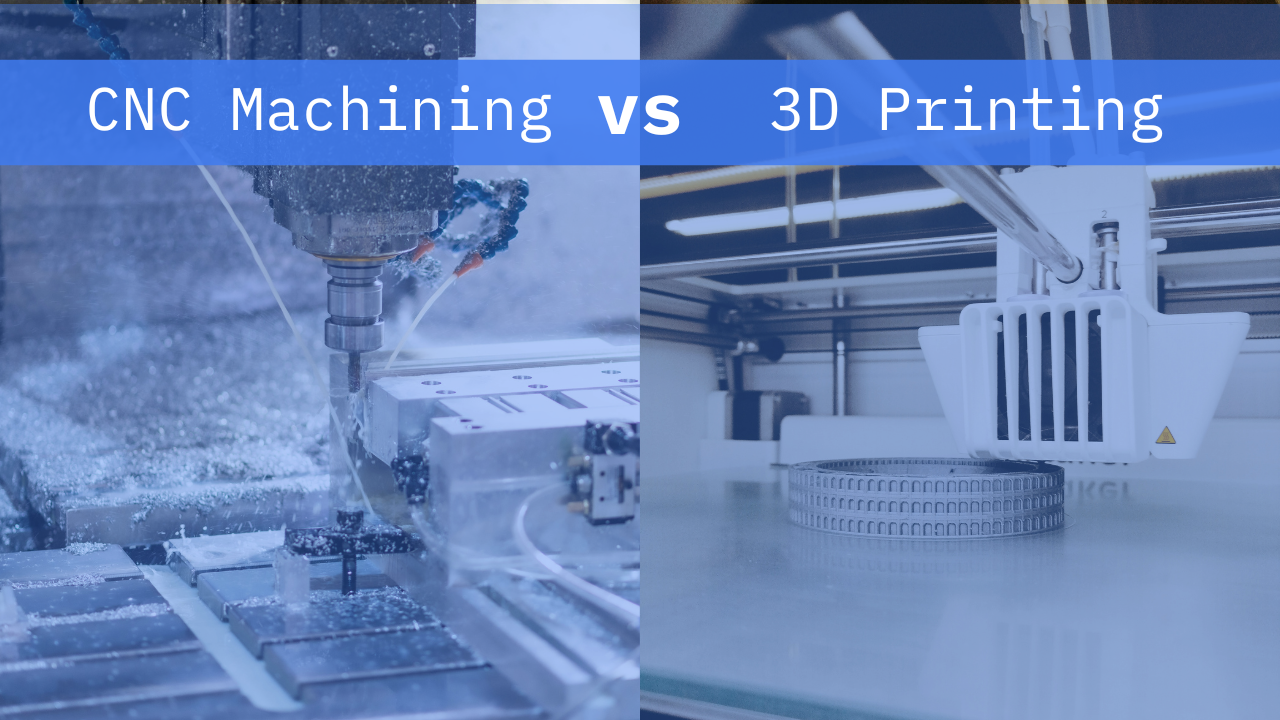
Choosing a prototyping process is one of the first decisions an engineering team makes once a design moves from concept to physical part. CNC machining and 3D printing are the two most common options, and both can turn a CAD file into a physical prototype. The right choice depends less on which process is “better” and more on what stage the design is at and what question the prototype needs to answer.
This post breaks down how each process works, when to use each one, the key differences between them, and how teams often combine both across a single product development cycle.
How CNC Machining Works
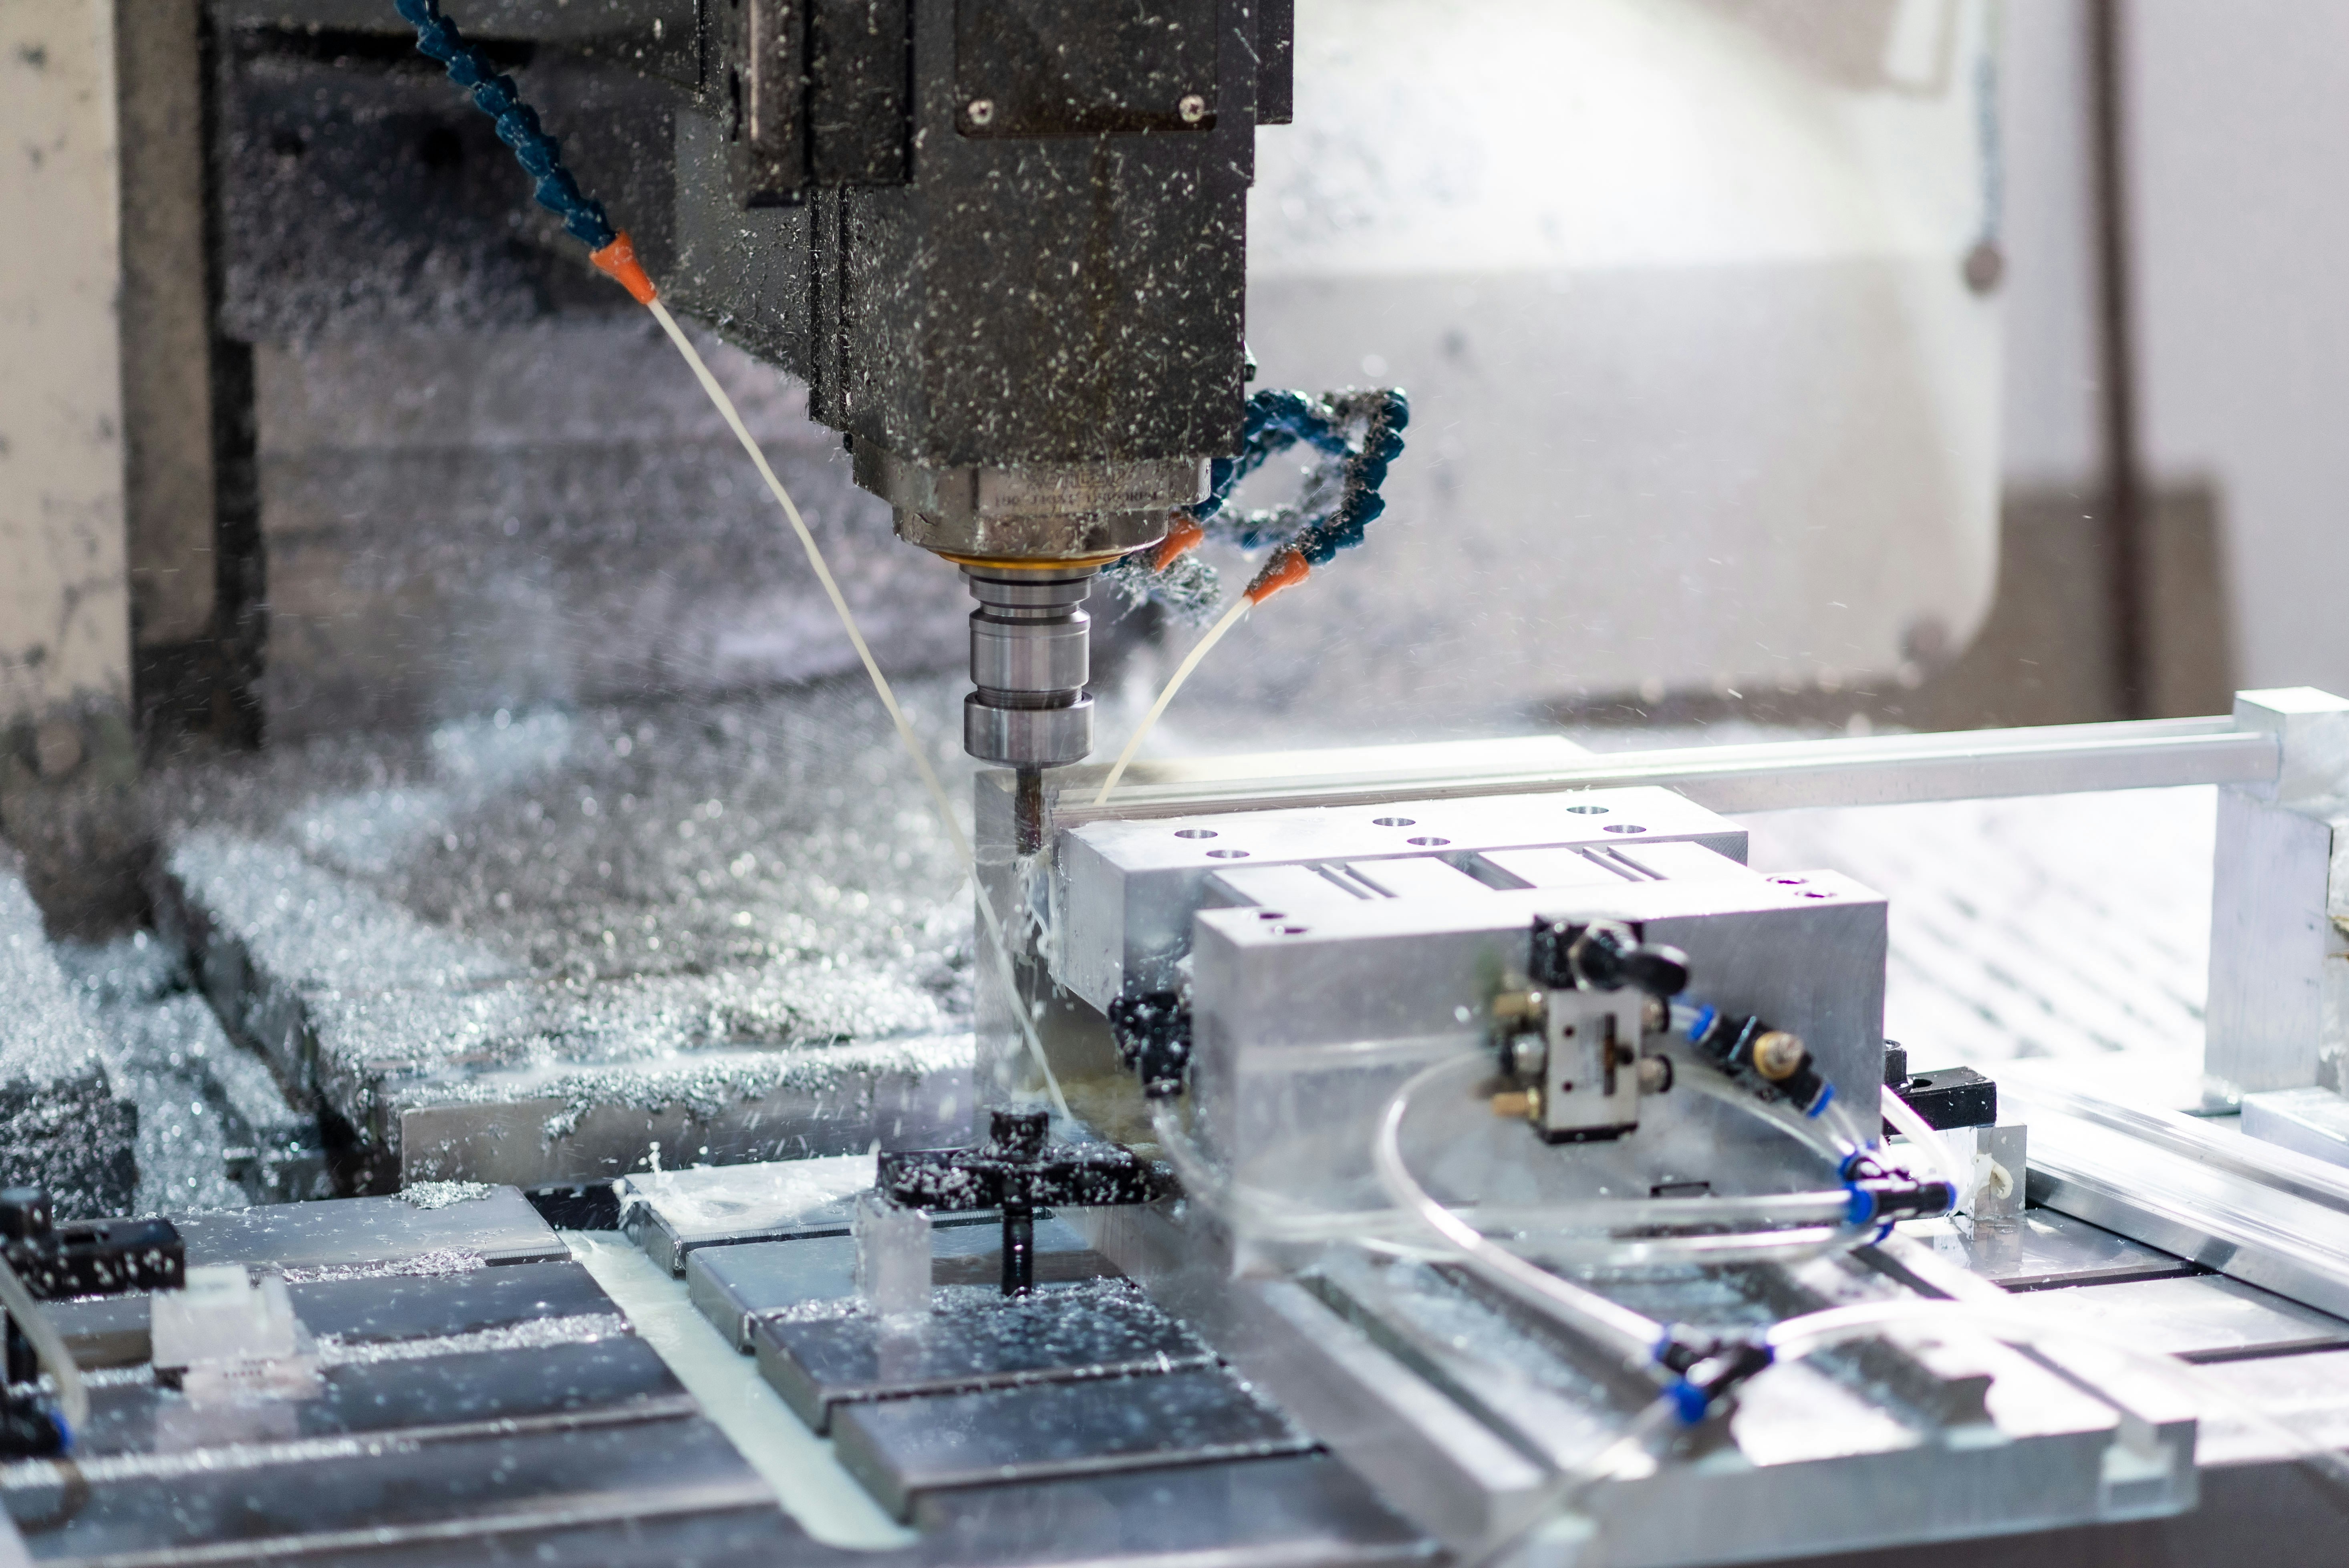
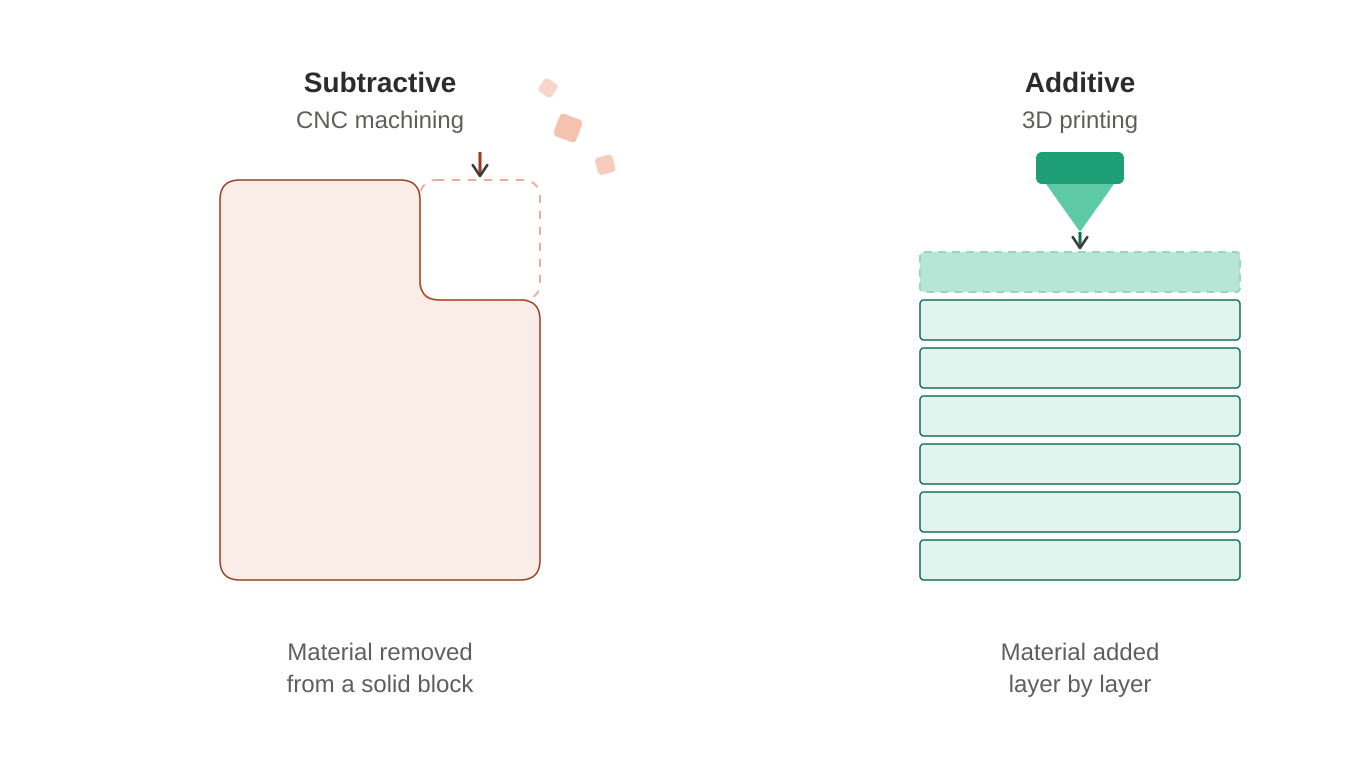
CNC (computer numerical control) machining is a subtractive process. A block of raw material, typically a metal such as aluminum or steel, or an engineering plastic such as Delrin or ABS, is loaded into a machine. A cutting tool, guided by a program generated from the CAD file, removes material until the final part shape remains.
Because the part is cut from solid stock, the resulting material properties (strength, density, thermal behavior) match the source material exactly. CNC machining also holds tight tolerances, commonly within a few thousandths of an inch, and produces a range of surface finishes depending on the tooling and post-processing used.
The tradeoff is setup time and cost. Programming the toolpath, selecting fixtures, and machining the part takes longer than printing one, and complex geometries (deep internal cavities, thin walls) can be difficult or impossible to machine.
When to Use CNC Machining for Prototypes
CNC machining is the better fit once a prototype needs to perform like the final part, not just look like it. Common cases include:
- Functional testing under real mechanical load, heat, or chemical exposure
- Parts that require the same material as final production, since material substitution can mask problems that only show up under real-world conditions
- Fit and tolerance checks against other machined or molded components
- Later-stage validation builds, such as EVT, DVT, or PVT units, where the prototype needs to represent the production part as closely as possible
- Small batches of parts needed for testing by multiple teams or reviewers at once
How 3D Printing Works
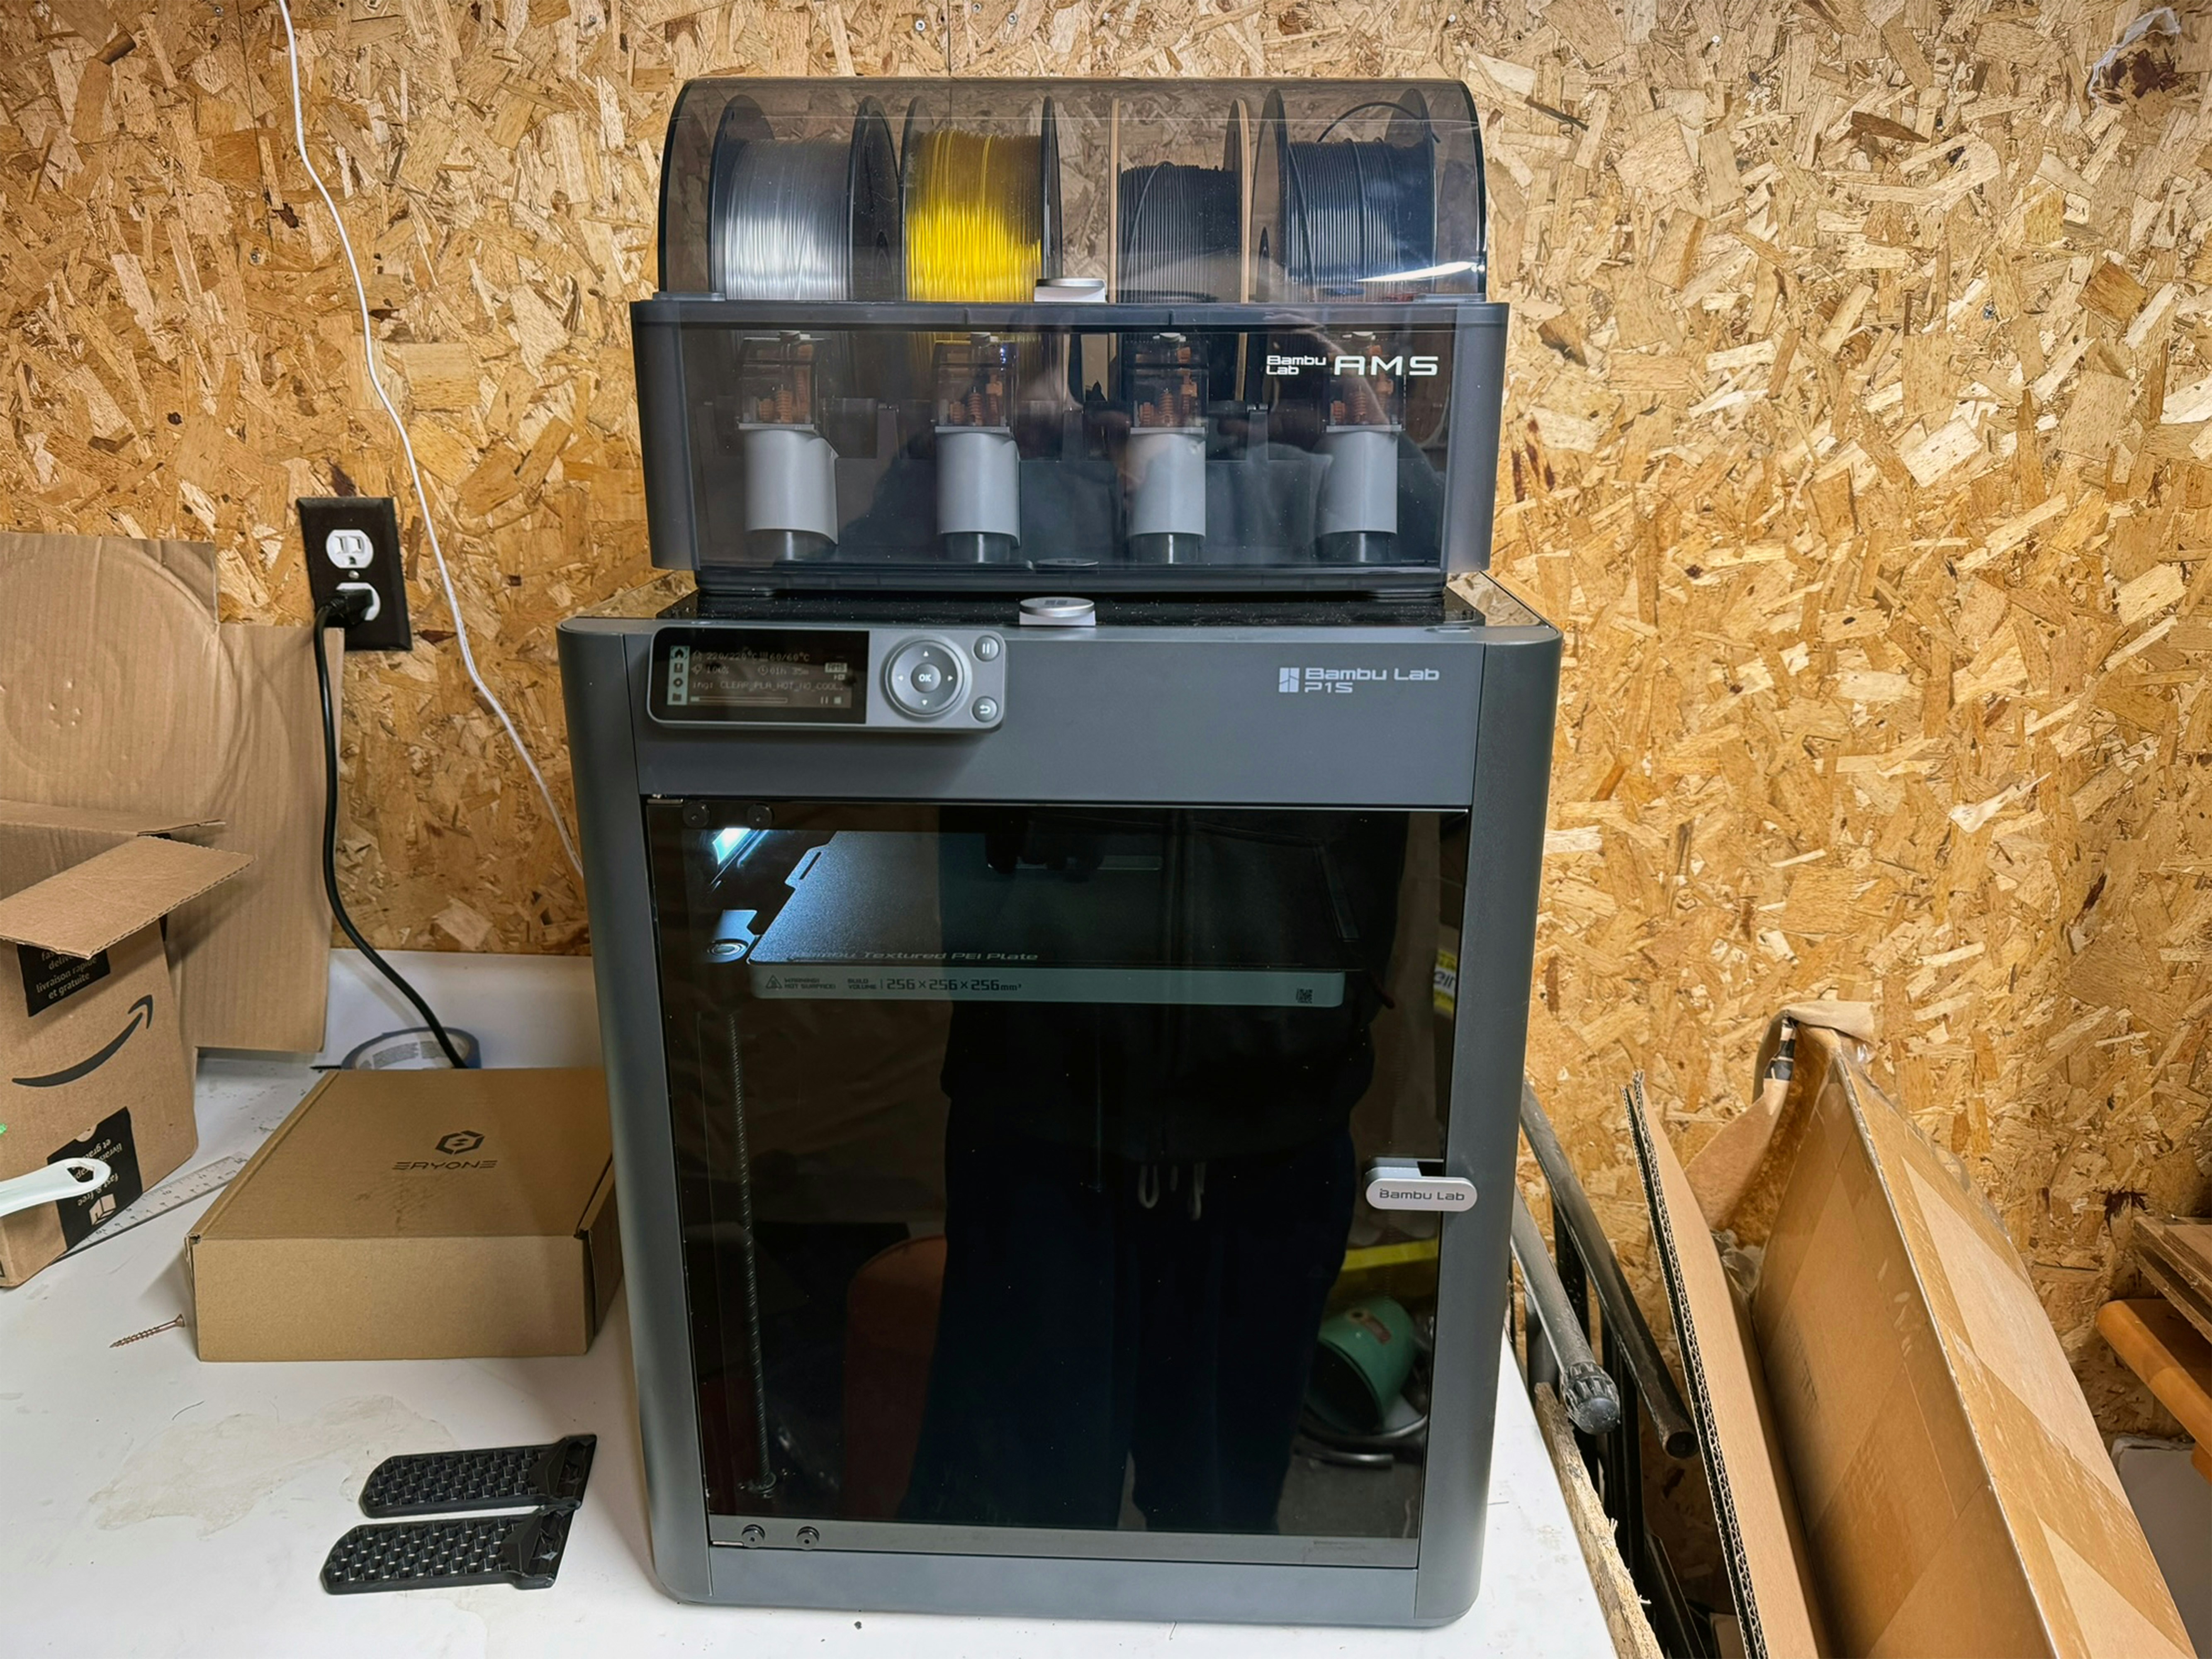
3D printing, or additive manufacturing, builds a part by adding material layer by layer based on the CAD file, rather than removing it from a solid block. There is no tooling and little setup, so a design can go from file to physical part in hours.
Common 3D printing processes include:
- FDM (fused deposition modeling): melts and extrudes plastic filament layer by layer; low cost, widely available
- SLA (stereolithography): cures liquid resin with a laser or light source; produces fine detail and smooth surface finish
- SLS (selective laser sintering): fuses powdered material, often nylon, layer by layer; produces stronger parts without the need for support structures
Because parts are built in layers, they can have directional weaknesses along the layer lines, and material options are more limited than what CNC machining can produce from solid stock.
When to Use 3D Printing for Prototypes
3D printing is the better fit early in the design process, when the geometry is still changing and speed matters more than mechanical accuracy. Common cases include:
- Early concept models used to communicate a design idea internally or to stakeholders
- Form and fit checks, such as confirming a part fits inside an enclosure or lines up with mating components
- Rapid iteration, where several design revisions need to be tested in a short period
- Low-load or non-functional parts, such as housings or fixtures that will not be tested under real operating conditions
- Complex geometries that would be difficult or costly to machine, such as organic shapes or internal lattices
Key Differences Between CNC Machining vs 3D Printing for Prototypes
Once the two processes are understood on their own, the tradeoffs between them are easier to compare directly. The table below summarizes how CNC machining and 3D printing differ across the factors that matter most when choosing a process for a prototype: lead time, material options, tolerances, cost, and design complexity.
| Factor | CNC Machining | 3D Printing |
|---|---|---|
| Process type | Subtractive (removes material) | Additive (builds material layer by layer) |
| Typical lead time | Days | Hours |
| Material options | Production-grade metals and plastics | Limited to printable plastics and resins |
| Material properties | Matches final production material | Can differ from production material; layer lines create directional weaknesses |
| Tolerances | Tight, typically within a few thousandths of an inch | Looser, varies by process and machine |
| Surface finish | Smooth, machine-dependent, can be improved with post-processing | Visible layer lines unless post-processed |
| Cost per part (low volume) | Higher due to setup and machining time | Lower, since there is no tooling or setup |
| Design complexity | Limited by tool access and geometry | Handles complex or internal geometries well |
| Best fit | Functional and validation prototypes | Early-stage and iterative prototypes |
Using Both Together
Most product development timelines do not require choosing one process for the entire project. It is common for teams to use 3D printing early, when the design is still changing and the goal is to test form, fit, and basic function quickly and cheaply. As the design stabilizes, teams often shift to CNC machining for prototypes that need to match production materials and hold tighter tolerances, particularly heading into EVT, DVT, or PVT stages.
Used this way, the two processes are complementary rather than competing options. 3D printing reduces the cost and time of early iteration, and CNC machining reduces the risk of surprises once the design moves toward production.
Conclusion
The choice between CNC machining and 3D printing for a prototype comes down to the question the prototype needs to answer. If the goal is to check a shape, confirm a fit, or iterate quickly on a design that is still changing, 3D printing is usually the faster and cheaper option. If the goal is to test how a part performs under real conditions, or to validate a design ahead of production, CNC machining provides the material accuracy and tolerances that additive processes cannot match.
Teams that treat this as a stage-based decision, rather than a fixed choice, generally get the most value out of both processes across the life of a product.
OpusFab provides instant quotes for both CNC machined parts and will offer 3D printed parts in 2 weeks, so teams can move between the two processes without restarting the quoting process each time a design changes. Check us out to get a quote on your next prototype.